i like to sew buttons.
i’m a bit quirky like that.
most people i know do not like to sew buttons.
even fellow designers often see it as a necessary evil,
but i love the math of it. the measuring and making sure they are all the same,
makes me feel very satisfied.
so i thought i’d post some pics of how i do it
in hopes of helping someone else
learn to love adding buttons
as much as
i do.
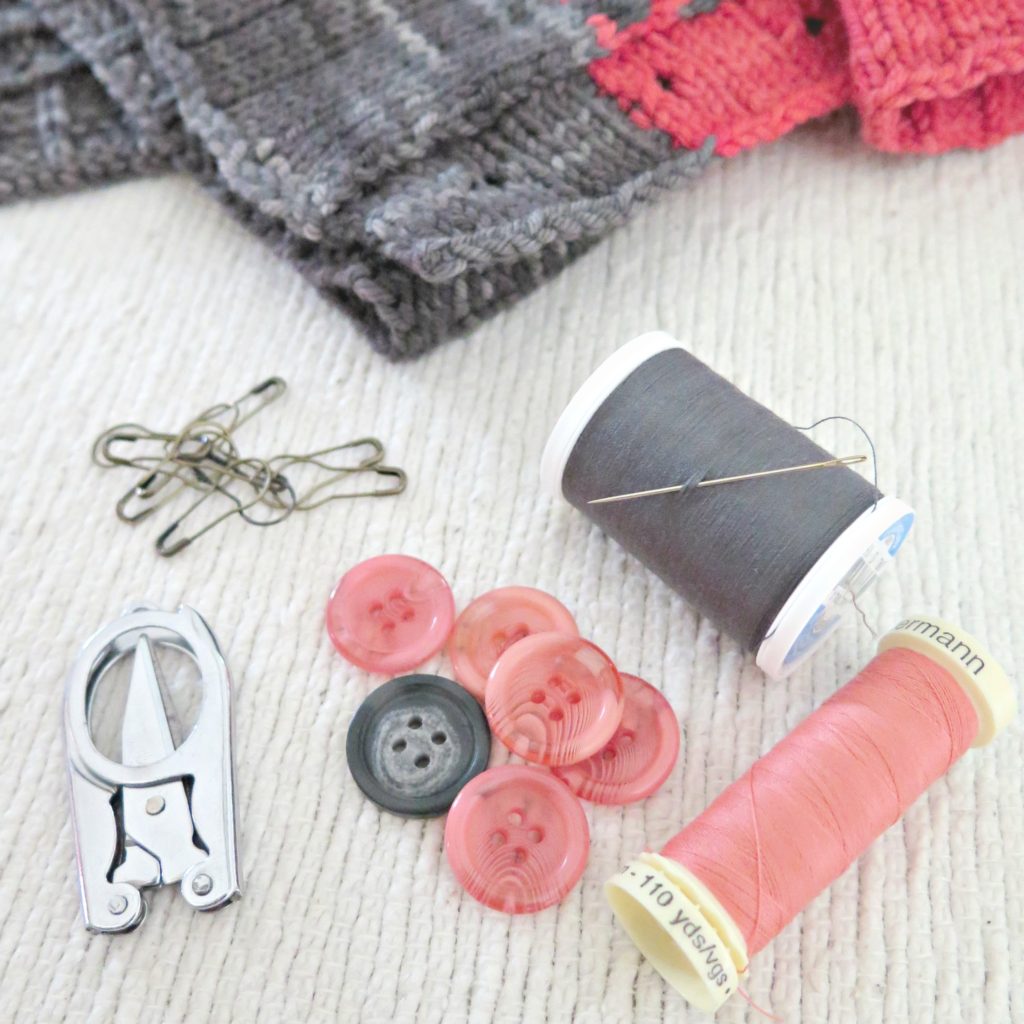
above are the things i use to put buttons on:
thread (i like to match it to the buttons, but contrast thread can be very cool, too),
scissors, needle (small enough to fit through the button’s holes), and clip on markers.
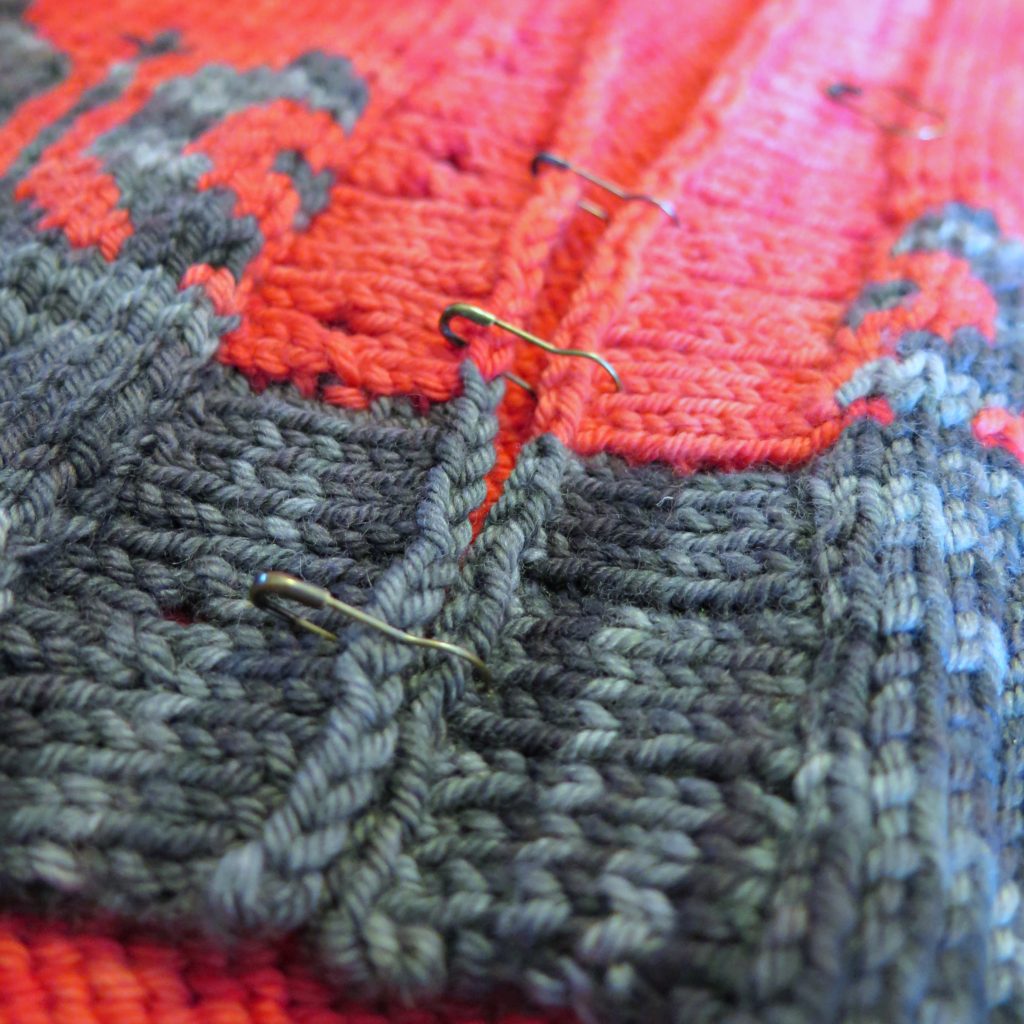
the very first step is above.
line up the buttonhole edge with the opposite edge where the buttons will belong.
i like to clip a marker connecting the the two edges
at each spot where a button hole is,
because that’s where the
corresponding button
will be sewn.
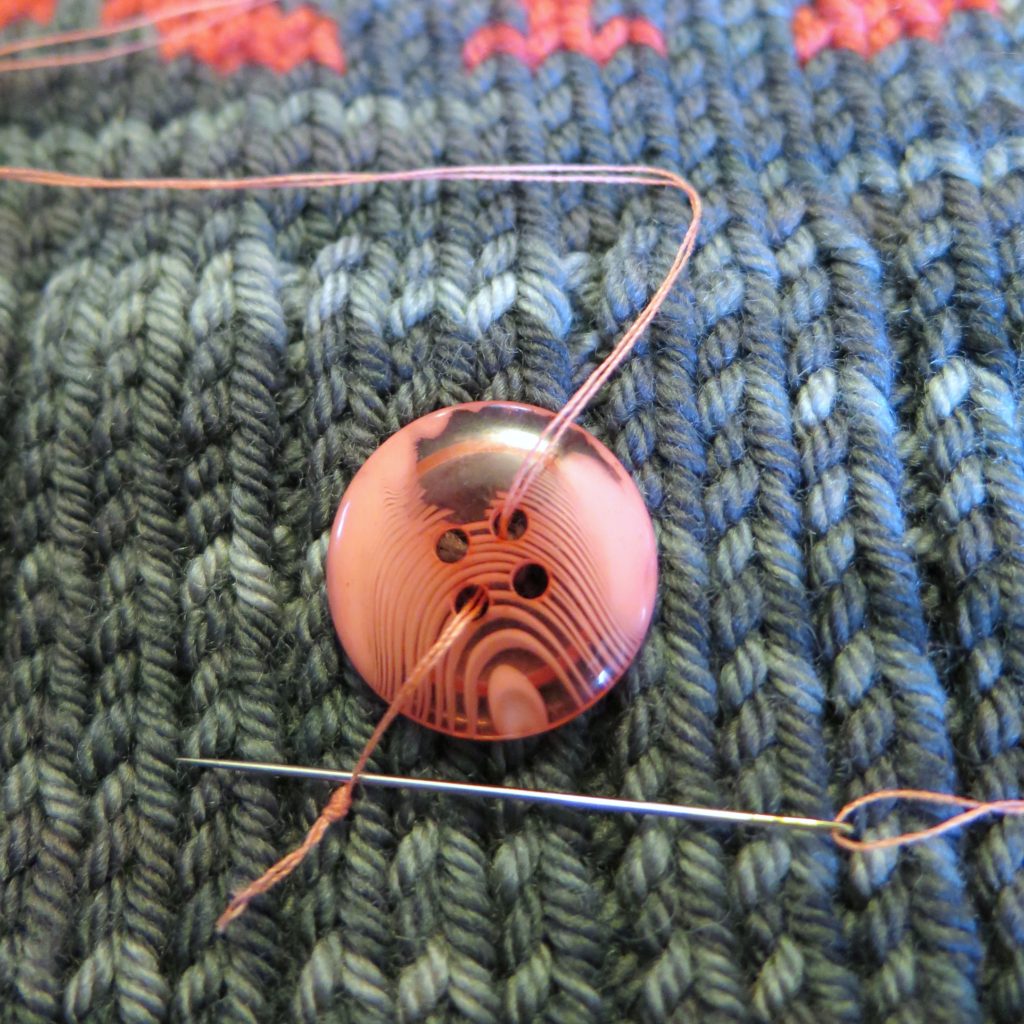
to start off strong, i like to double the thread when sewing on buttons.
i pull the thread until the needle is in the middle of it and then knot the ends together.
when attaching the button,
i push the needle up through one hole of the button,
down through a 2nd hole in the button (diagonally across from the first)
and then slide the needle between
the two ends of the thread just above the knot.
once you pull the thread snug, this ‘locks’ the button onto the end of the thread.
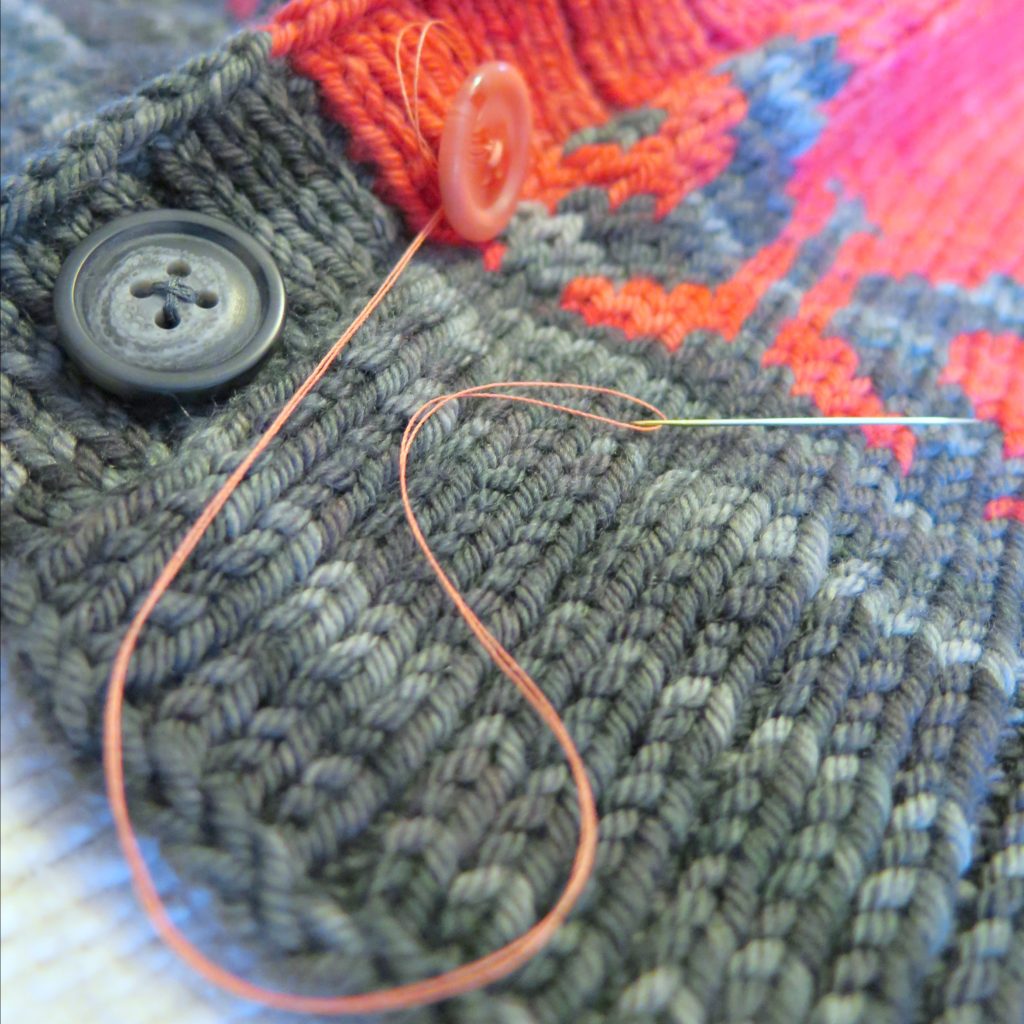
when sewing a 4 hole button on,
i pick the 4 knit sts (all next to each other in a square shape) that i will sew the button onto.
i slide the thread down through one st,
up through 1 of the button’s holes, and then
up through the st diagonally across from the one i went down.
i repeat this 3 or 4 times, then do the same for the button’s other 2 holes
and the 2 remaining sts in my imagined square.
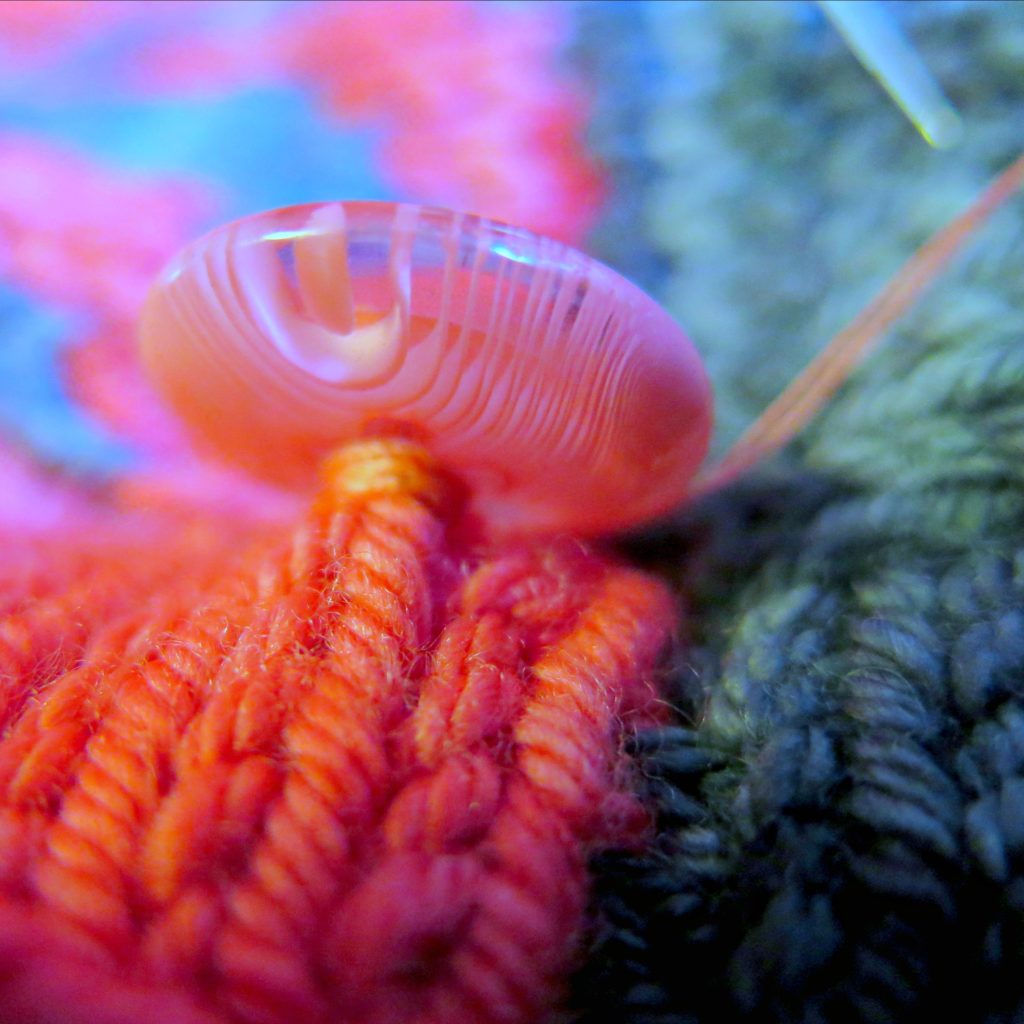
next is my button sewing ‘trick’. ready?
once the button is secure, i wrap the thread on my needle around the sewn sts
between the bottom of the button and the front of the knitting.
this creates a little ‘shank’ (see pic above)
that allows space for the height of the knitting around the buttonhole to sit
without pulling and distorting the knitting that the button is sewn to. see?
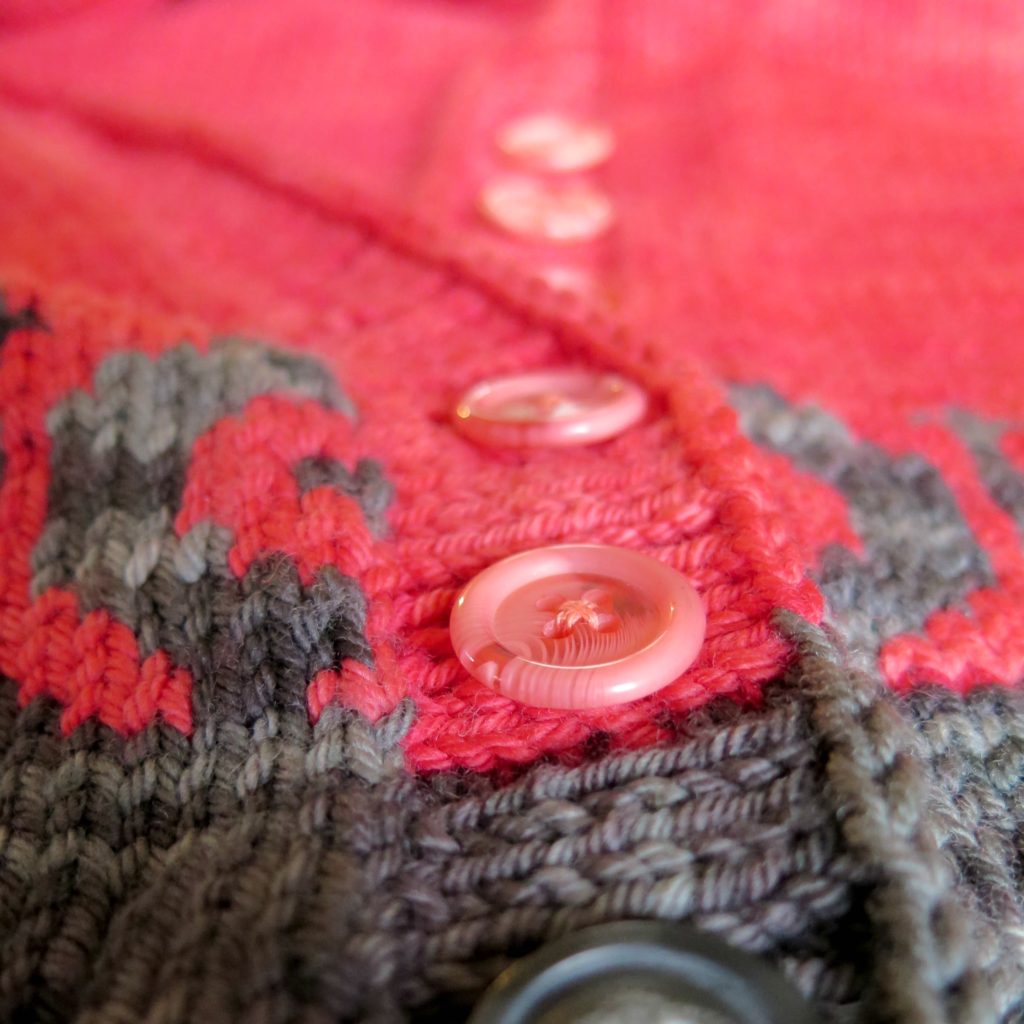
now just repeat the directions for each button and
you’re ready for cooler fall air
and to start wearing your cardi all buttoned up. yeah!
‘secure’ taken from 11:18 of job.

Very cool, thanks for sharing. I wish there was a shot or diagram of the four knit stitches you were sewing thru, and a shot of the back, but your descriptions are very clear. I think I’ll dig out my button-less card and have another go. Many thanks! ?